How to Install a Leak-Proof Window
Water damage can lead to serious problems, which is why it’s so important to weather-strip and waterproof vulnerable features of your home. This includes your windows, especially if they are operable—meaning they can open and close. Installing a leak-proof window is essential in protecting your home from water damage and the expensive problems exposure to moisture can cause.
Step 1: Remove Old Window & Prep for New
Installing a leak-proof window starts with taking out the old one and starting a new one. Prepare the opening for installation by using flashing tape on the sill underneath the window.
Keep in mind that you won’t want to use cheap or poorly made flashing tape or caulking for this project. Cheap materials will undoubtedly deteriorate, defeating the purpose of leak-proofing your window. Use high-quality, well-reputable materials to ensure the window is protected.
Install the flashing tape so that it runs vertically along the opening from 4-6 inches, which provides an overlap with the next flashing, creating a shingle effect. This will prevent water from sneaking in behind any of the flashing tape.
Step 2: Wrap the Wall
You’ll need to weather-proof the wall the window is installed on. Staple a 15-pound builder’s felt along the bottom of the window opening. Next, use a waterproof membrane to apply over the felt. Purchase a water-resistant barrier that has the membrane backed with adhesive for easier installation.
Here, you’ll fold any excess membrane over the sill and trim the corners. Use small pieces of the membrane to apply over any gaps or corners. Install strips of the waterproof membrane to widely cover the sides of the opening.
Install the flashing on the window’s header while overlapping the flashing on the bottom of the window. Overlapping is a great method in preventing water from seeping through.
Step 3: Install the New Window
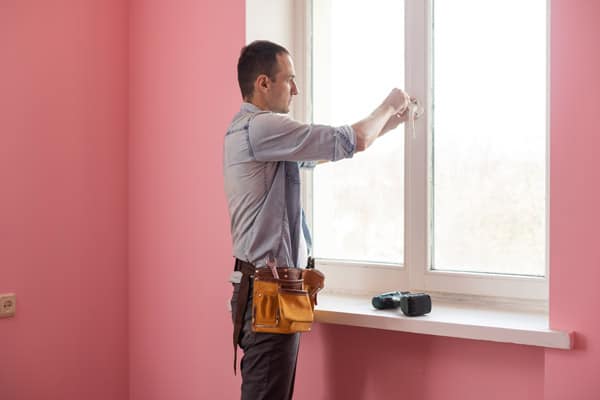
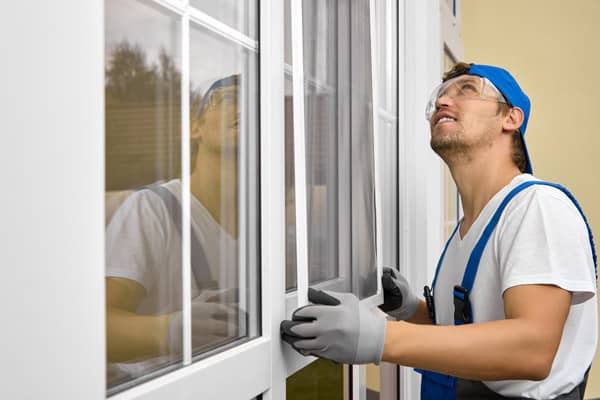
Now that you’ve flashed the wall and installed the waterproof membrane, you can set the new window in the opening. Slip shims under the window and center it. Double-check to make sure the new window is level.
Next, you’ll install a nail through the nailing flange on the high side while raising the low side of the window, nailing that side as well. Ensure the window is square and level, shimming if necessary. Complete the installation by finishing nailing the window to the wall.
Step 4: Finish With Flashing Tape
Once the window is secured, finish by applying flashing tape on the top and sides. Make sure you use once again apply a wide strip of your waterproof membrane for maximum coverage.
Why Windows Leak
Leaks can occur from a number of reasons and sometimes, you won’t find out the true source of the leak because it could be originating from elsewhere like the siding or roof. It’s more so that the window reveals the leak because the opening can highlight vulnerabilities in a home’s structure if it’s not properly sealed or waterproofed.
Water always takes the path of least resistance. You may notice that your window is leaking because the water is making its way from the top, potentially becoming trapped by the caulking on the window sides. Water can then end up making its way down the walls.
Leaks can also occur because of these following reasons:
- Installation issues: if a window is installed improperly, gaps can be left, and these openings can easily invite water inside. While you can install a window on your own, it’s best to leave it to a professional if you’re unsure of the process or unfamiliar with the tools and materials.
- Age: old windows are quite noticeable. They can be drafty, they can hold condensation, and they can leak. Upgrading your windows is one of the best projects you can do for your home because older windows aren’t up to today’s standards of energy efficiency and quality. New windows will retain energy, save on your electric bills, stop drafts, and of course, stop leaks.
- Surround structure: sometimes the surrounding structure of your home can impact the performance of your windows. Lack of overhangs, shifting foundations, and structural damage can all take its toll on the windows and cause leaks.
- Weatherstripping: a common cause of window leaking is lack of weatherproofing. Sealant, caulking, and weatherproofing materials like a waterproof membrane can break down over time. Installing a leak-proof replacement window will be your ultimate solution.
It’s important to fix a leaking window immediately. Moisture can cause structural damage if it’s ignored, not to mention mold and mildew. These problems quickly compound and become incredibly expensive to fix. Your next step is to replace the window as soon as you can. Of course, this means replacing the old window with a new one that is fully leak-proof and properly set in the opening.
If you’re in the market for replacement windows in any of our markets across the Midwest, we hope that you’ll consider Feldco for your window replacement project.